
I didn't grow up celebrating Easter. We didn't dye eggs, go hunting for them later in the grass outside, or receive baskets of sweets. I remember eyeing with great envy my friend's plastic yellow baskets filled with trinkets, sweets, and plastic green grass. My parents are of Jewish descent.
In 2005 I converted to Catholicism. I did it for me. I did it because it felt right. It just fit. And now, as a wife and mother I am beginning to create family traditions that make the Lenten season and Easter meaningful and beautiful to our young family.
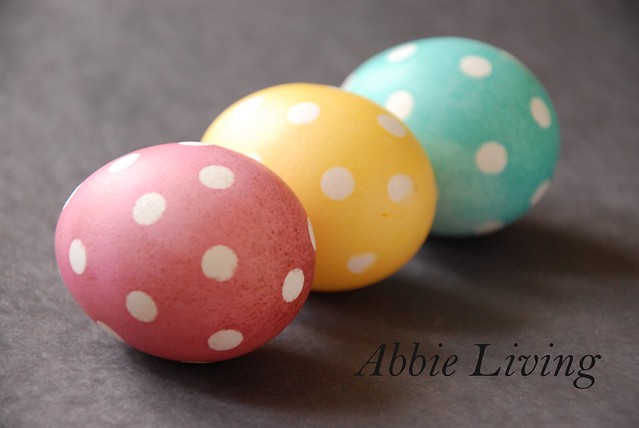
This simple colorful craft project actually didn't include the children. I just slipped into the kitchen and let my crafty fingers fly around a bit and came up with these polka dot dyed Easter eggs.
Materials
- Eggs (raw and intact, and at room temperature.)
- Food coloring (just the regular kind from the supermarket) (Goodness, does calling the grocery store a "supermarket" date me a bit I wonder?)
- White vinegar
- Paper towels (or a rag you don't mind turning a couple of other colors)
- Plastic disposable, or rubber gloves (optional if you don't mind getting your fingers a bit dyed)
- Contact paper (about a 6"x6" piece or so.)
- X-acto knife
- Hole punch
How To
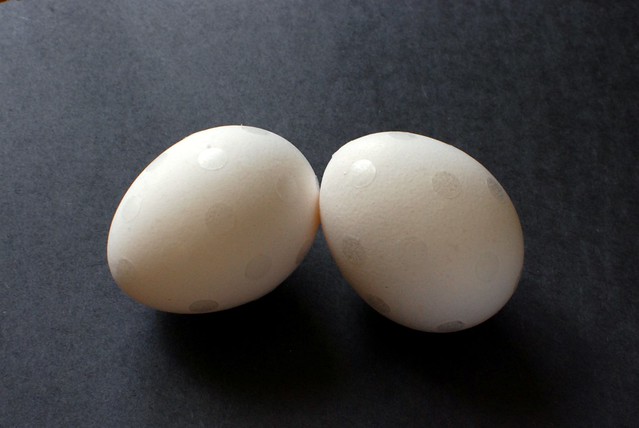
1. Use the hole punch to punch out dots from the contact paper. Separate the dots from their backing and stick them to the eggs. (An X-acto knife helps here. I held the dot between my forefinger and thumb and then carefully "sliced" the side of the dot with the X-acto knife to separate the two layers.) Firmly press the edges of each dots to adhere. Be a bit random here with your sticking pattern. Or not and create a geometric pattern if you wish.
2. Mix dyes according to package directions:
1/2 C boiling water + 1 teaspoon white vinegar and 10-20 drops of food coloring (I used teal, dusty rose and yellow.
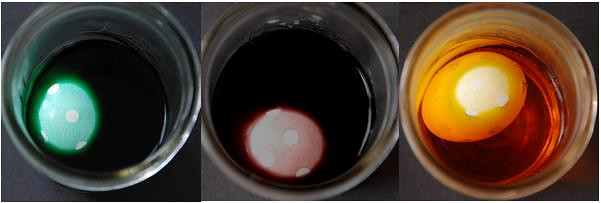
3. Submerge the egg covered with sticky dots in the hot liquid colors and let them sit for as long as you'd like. The longer you let them sit the more intense the color will be in the end. Mine were in the liquid for only a minute or so. I used plastic gloves to protect my fingers from the dye.
4. Remove the dyed egg and rinse the excess dye off and pat dry with a paper towel. Let dry for 20 minutes or so, before removing the circle stickers. (An X-acto knife helps here.)
5. If you intend to display these, poke holes in the ends and blow them out. I used mine for breakfast the next morning.

Outtakes
- If you don't firmly adhere the dots to the egg shell, they come off.
- Blue seems to seep into the little craters in the egg making a speckled effect.
Inspiration
Tissue Paper Decoupage Eggs - How To by Martha Stewart
Scrambled Lines and Letters Easter Eggs - How To by Martha Stewart

 Hello, I am glad you came. Abbie Living is the place where I share my sewing, knitting, and crafting projects and most importantly, share my passion for helping others in need.


2 comments:
Very cool and easy! Great idea Abbie. I may have to try this.
Joanne
I blog at: http://inyrdreemz-thebig50.blogspot.com/
I couldn't think how you made the dots. Well duh! Thanks for the idea!
Post a Comment