Showing posts with label butterflies. Show all posts

Felt Butterfly Clip Magnets - Tutorial

Wednesday, March 28, 2012

FeltButterflyMagnets
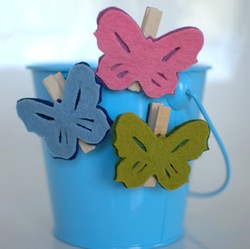
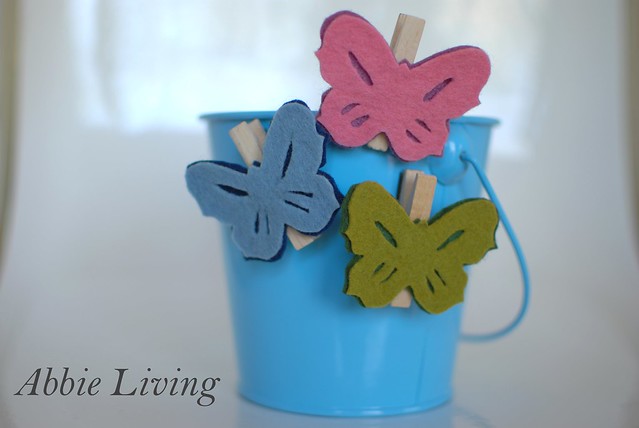
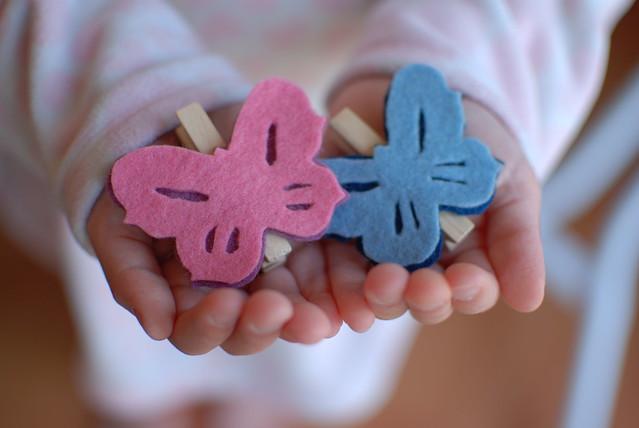
More butterflies. Ah yes, more. This time in fuzzy felt in some uplifting spring colors. These are easy and quick to make. And in this household they are very much needed.

For years we've had kiddie magnets on the fridge. And some random magnetized cars that "crawl" up anything metal too. These kiddie magnets migrate around the house. They become walking hazards, wined up in the wash, and like-wise lost in this abyss we call home. So, I felt a need in my inner-being for some grown-up, crafty, magnets for my portion of the fridge/freezer that no small hands can touch.

The other problem, besides the juvenile nature of our message keeping, is that the magnets available don't always stick well. A take-out menu sometimes requires two or three magnets to keep it safe from the floor and the mouth of my 10-month-old-paper-eating-mischief-maker. These actually stick and they hold paper in their cute little clip. And I am proud to say, these are a bit more "elegant", if you would, than the I-Iguana magnet I am staring at right now.

Materials:
  • Felt in varying complementary colors (I used 100% felt here. But the poly kind will do just fine too.)
  • Sharp fabric scissors (and a pair of sharp smaller scissors is useful, though not necessary)
  • Regular scissors (to cut through the magnetic tape...never, never, use your precious fabric shears on things other than fabric, like, say, fritos bags, like my husband does.)
  • Pen (ball point will do)
  • Butterfly pattern - download here
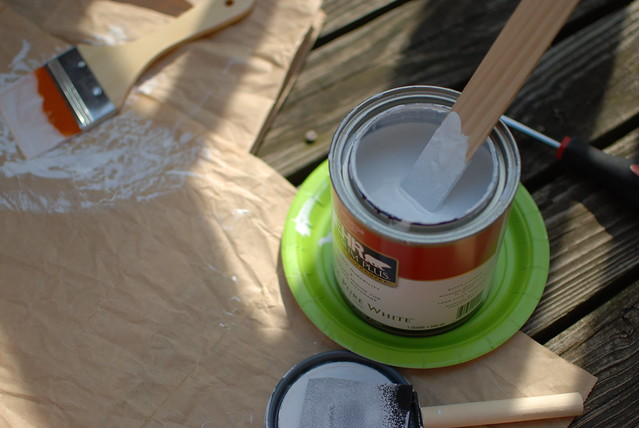
  • (2) kinds of glue (Use Elmers or something else runny for the felt-to-felt part. Fabri-tac will do too. And use something creamy for felt-to-wood.)
  • A small dish
  • An old paint brush (for the glue)
  • Small clothespins (these are 1 3/4 inch)
  • Magnetic tape (or you can use round magnets too, or any other type of magnet strong enough to hold up the clip, the felt and some paper.)
How To:

1. Print out and cut out the butterfly pattern. (I transferred mine to a piece of cardboard for durability, but this step isn't necessary.)
DSC_0968


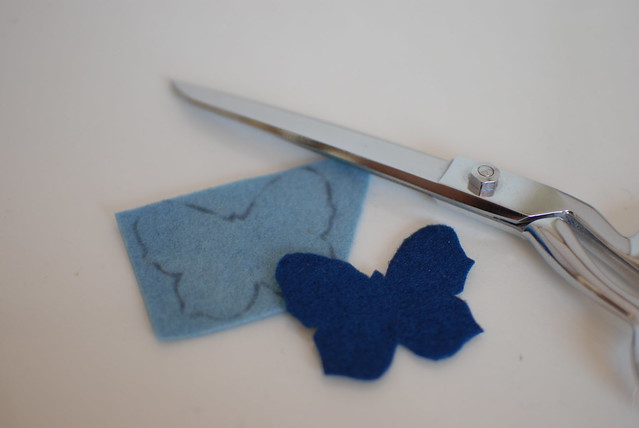
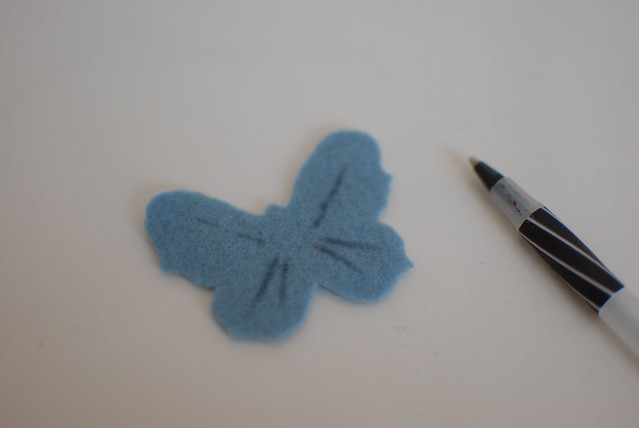
2. Choose two contrasting colors of felt and trace around the butterfly pattern onto each piece of felt. Use the fabric scissors and cut around each tracing.

DSC_0974
3. With a pen, draw in the lines on the wings onto the felt butterfly that will be applied on top. (I just eye-balled this. You can too...alter the pattern if you want.)
DSC_0975 DSC_0976
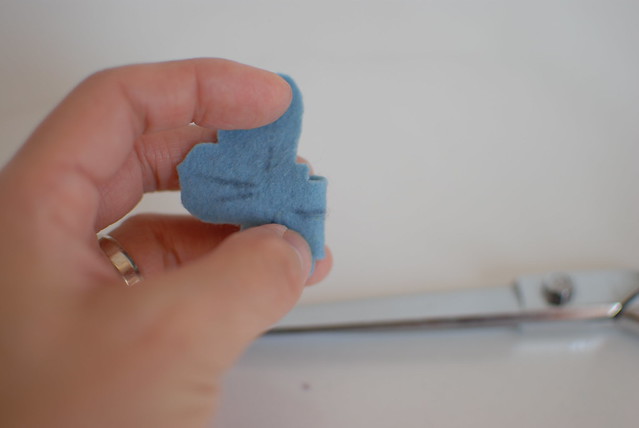
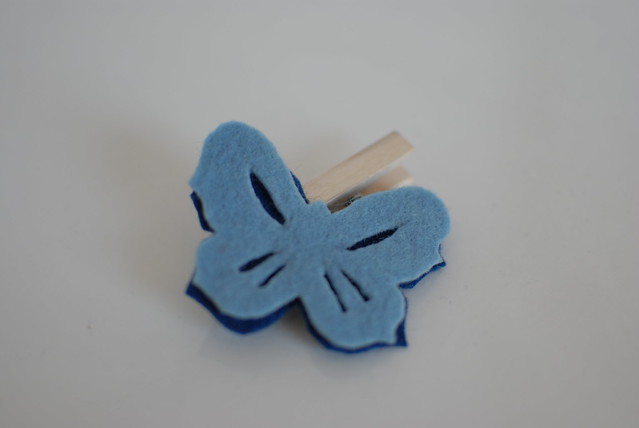
4. Use the fabric scissors and carefully cut out each pen line. Bend each wing piece and used the tip of the fabric shears to snip a small slit along the pen line. Open the wing back up and insert the tip of the fabric shears into the slit and cut out the pen line.
DSC_0981 DSC_0982
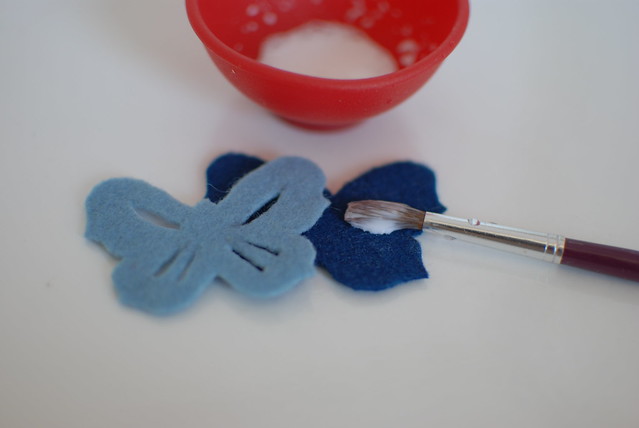
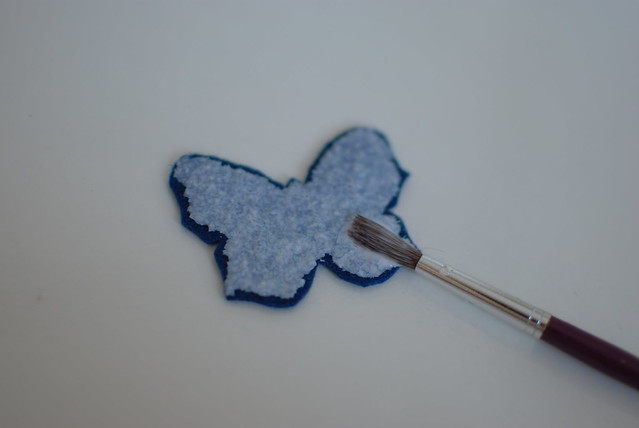
5. Decant about 1 teaspoon of runny glue and add 1/2 teaspoon of water to the small dish and mix to combine with the paint brush. Brush the entire surface of the felt butterfly with no holes with glue. Apply the other felt butterfly piece on top and press gently to adhere. (The glue here will help the felt stiffen a bit, which will help durability.)

6. Add a dab of craft glue (the more creamy stuff) to the middle of the clothespin and press the felt butterfly on top to adhere.
DSC_0986 DSC_0987
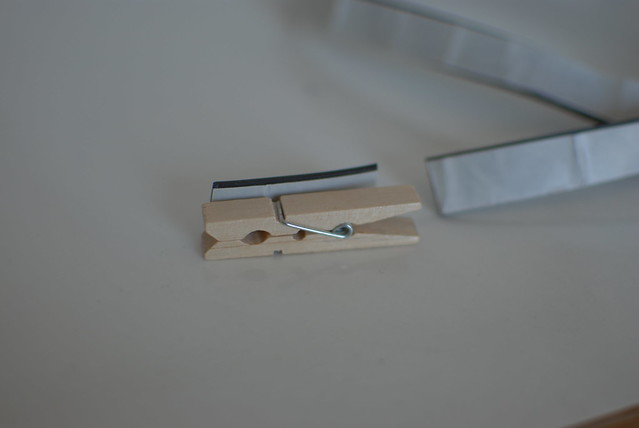
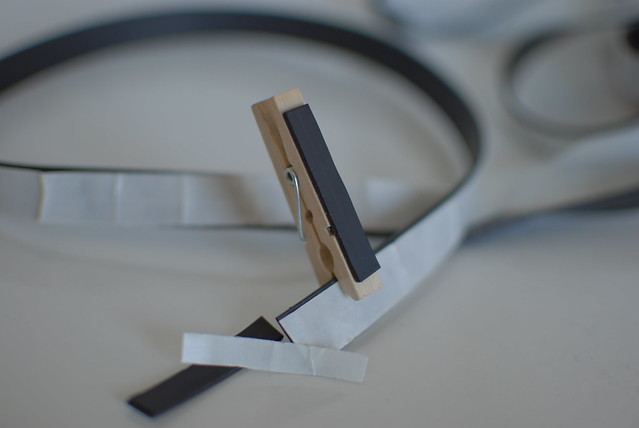
7. With the regular scissors, cut a 1 1/2 inch length of magnetic tape and cut it again in half lengthwise. Remove protective paper and adhere to the back of the clothespin. (If you are working with regular magnets, the craft glue will come in handy here.)

8. Let the piece air dry and then hang it on your fridge and clip your latest and greatest note! DSC_1009 FeltButterflyMagnetTutorialSml
Origami Butterfly Wall Art - Tutorial

Sunday, March 25, 2012

ButterflyWallArtAhh, we're back. After a bit of a trying week, we are back. Maybe not normal yet, but better. Up and running. Stronger and with more momentum.

I like that feeling of gearing up. The lists, the planning, the thinking, the ideas and the doing. As a new project takes off, so does my heart and soul. The different possibilities bring optimism into my little corner. This little boost pushes me off my landing spot and into the wind. And I feel free again.

Life is a bit of a roller coaster. That is so cliche, but as I get older, it is so true. My roller coaster travels from intense deep dark blue to the lightest of yellows. My lows are darker, grumpier, and more achy. My highs are light, breezy, and floaty. And it is a fact that my path travels to both ends. Life modulates.

I have tried so hard to control it. "I'd be so much more productive if I could just extend those highs. How do I avoid those lows? Exercise. Diet. Medication. Supplements. Lifestyle." But the only thing I've found to be true, is to embrace it. Rest when the body says to rest. Leave the guilt of nap-time hours behind. Productivity will pick up. It will soon. And without variety, this wouldn't be...life.

So take each day as it comes. Be productive when the body and the inspiration allows. Rest when there is no other choice. And embrace your soul, the time you have here on this earth, and live each day to its fullest. I know I can't do any more than that.

Now, onto the craft....

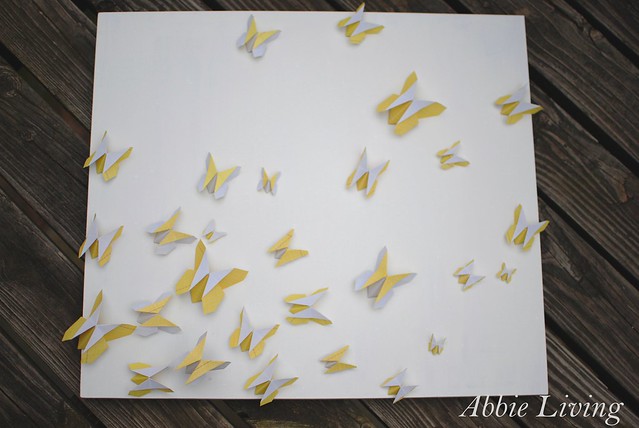
ButterflyWallArt8
We are sorely in need of some cute wall art in this house. I've been eyeing so many butterflies on the Internet lately and since spring is in the air, I decided to invite some into this home.

I found this site for all things Origami butterfly. I looked at about half the links, but there are so many other patterns out there to explore! Take a look around and see which one you like.

This is a very simple, very budget friendly piece to put together. I found all the items I needed around the house. Most of the project time is spent waiting for paint to dry and folding paper.

Materials:
Damp rag or paper towel
Sand paper (any fine sand paper will do)
Paper or drop cloth to protect the surface on which you intend to paint
Paint brush
White pant (I used flat indoor paint)
Scrap wood (in any dimension, in any shape, here I used 1/2" MDF)

Regular paper (I used 12X12 inch scrapbooking paper, color on one side, and this was totally enough)
Scissors
Ruler
Pencil
Nails (I used 1 1/4 inch long nails and I used about 6 of them)
Hammer

Craft Glue

How To:
NOTE: I did not affix a hanger on the back of my piece. If you would like to hang your piece, select an appropriate wall hanger and attach it to your board, BEFORE you start in on the rest.

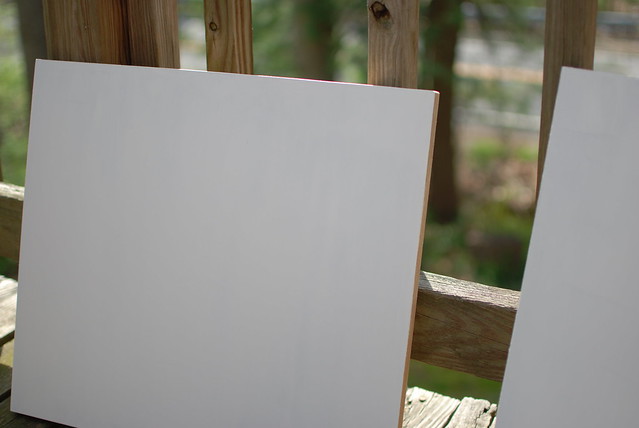
1. Sand scrap wood until edges and faces are smooth. Remove any dust and debris with a damp cloth and let dry.

ButterflyWallArt1 ButterflyWallArt2 2. Paint scrap wood white with paint and brush. You many need to do two coats, letting each dry in between.

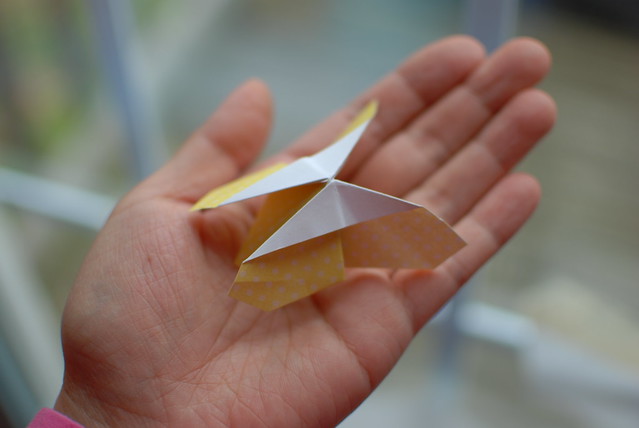
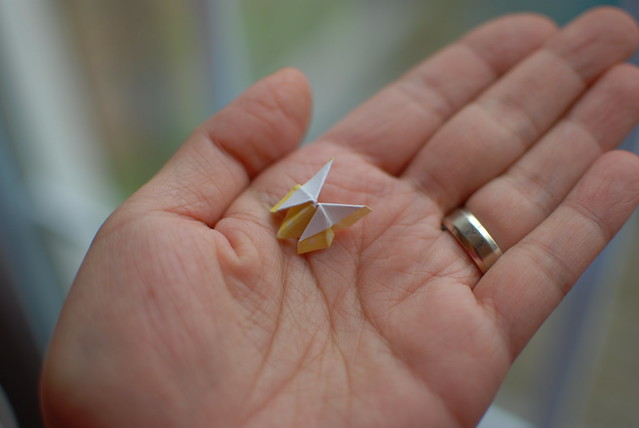
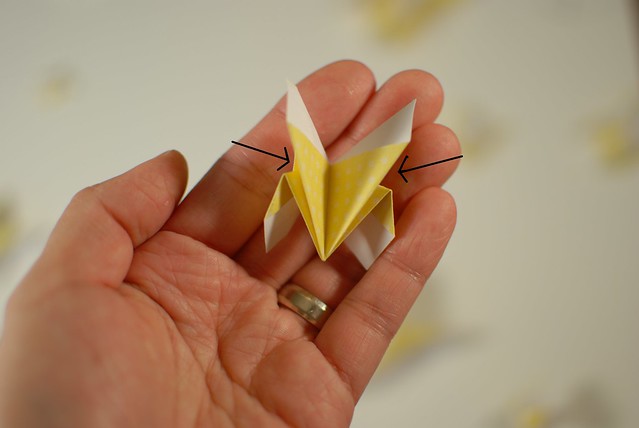
ButterflyWallArt4 3. Go here to find out how to make the origami butterflies. This is a very complete and easy to follow tutorial in my opinion and she gives you two sizes to choose from.

ButterflyWallArt3 4. Measure and draw as many rectangles for as many butterflies as you'd like. I varied the sizes of mine and I just kept on making them until I got tired of making them!

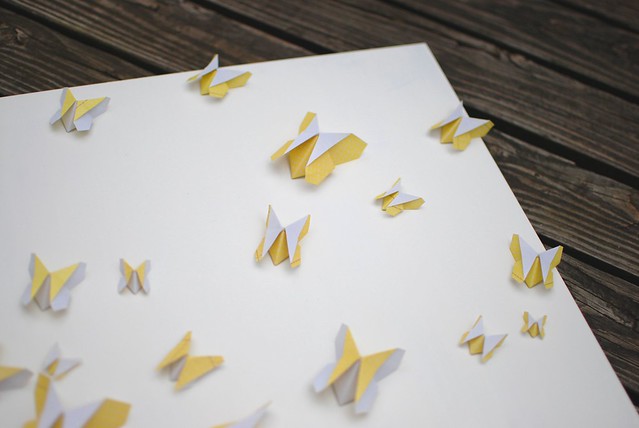
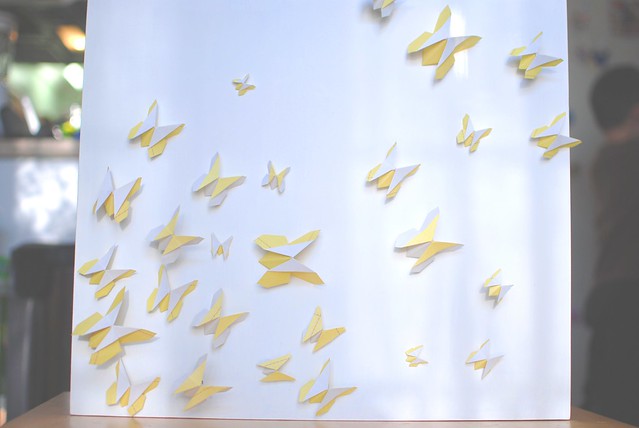
5. Lay out your butterflies on the white piece of wood. I choose to make them all face more or less one direction. Then choose which you'd like to elevate. These little lucky ones will be mounted atop the nails.

6. With the pencil, draw dots where the nails will be hammered in. Then hammer in your nails. Don't worry if your little butterflies try to take flight while you are hammering, they don't go far, and you can re-arrange them later.

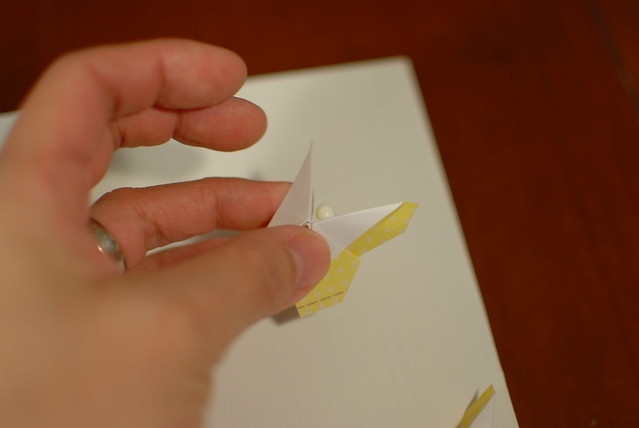
ButterflyWallArt5 ButterflyWallArt7 7. Add a dab of craft glue to the top of each nail, and place the lucky butterfly atop. Adjust it's angle as you please and let dry.

ButterflyWallArt6
8. Apply craft glue to the bottom edges of each butterfly and secure it to the board. Let these butterflies dry.

ButterflyWallArt9 And there you have it. Display and admire your work!
Related Posts Plugin for WordPress, Blogger...
Blog contents © Abbie Giving 2010. Blogger Theme by Nymphont.