
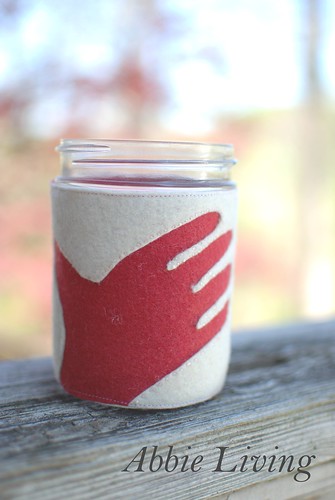
I don't recall where I saw something similar to this craft I am sharing today. Someone's blog, somewhere, at some point in time...I remember their design was different for sure, but the idea of a coffee cup sleeve for a mason jar is unabashedly the same. So if you are that blogger, and I gleaned that idea from you, please do drop me a note, so that I might acknowledge your wisdom here.
Hands. I believe they are for doing, for learning, and for creating. I feel blessed, and lucky, to possess two that work well. Each day I try to do as much with them as I can in anticipation of the time that they tire and will want to work no more.
What is more amazing to me is how baby hands develop. Fat fingers start out slow and clumsy. Aiming and grasping are tiresome and challenging tasks. Accuracy and firmness of grasp aren't yet refined. The delicate is smooshed. The thin is impossible to lift. And then fingers and hands learn. They get stronger, agile, and adventurous.
Hands and fingers are personifications of personality I believe. My mother's family all had the same hands. They all looked the alike. To this day, I have to think twice when I call my Aunt and just be sure I am not calling my mother. I look at my boys and they have sturdy hands, with wide fingers and broad palms. My little girl has delicate hands, with long slender fingers. And her hands are the perfect size to hold these mason jars.

This sleeve pattern fits a 16 oz, pint sized, wide mouth mason jar. I tested this sleeve around the thick glass mason jar filled with boiling water and the felt fabric aptly insulated my tender fingers and the glass proudly withstood the high temperature.
Materials
- Felt in two contrasting colors (I used 100% wool felt found here. The regular craft store poly-blend will do just fine too, or you can use a felted wool sweater deconstructed.)
- Cotton embroidery thread in complementary color (I used regular DMC floss in ECRU)
- Paper scissors
- Fabric scissors
- Pen
- A simple sewing needle
- Sewing machine and matching thread is optional
- Printed Felt Coffee Cup Sleeve Pattern (download here)
- Wide mouth mason jar--16 oz size
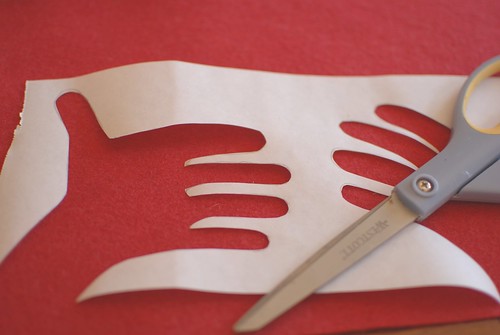
1. Download and print out Felt Coffee Cup Sleeve pattern.
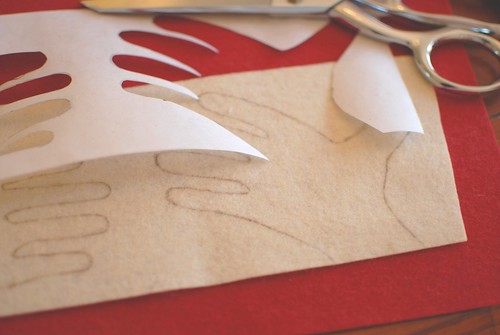

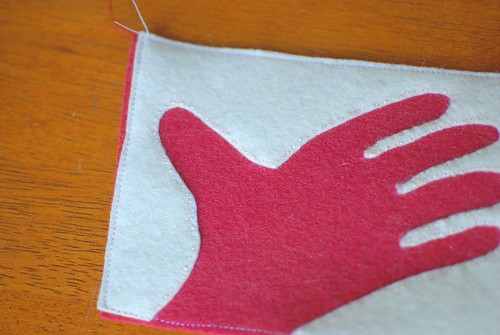
4. Lay pattern on the felt fabric color that will be the bottom layer and will show through. (In this case the red felt.) Trace around the perimeter of the pattern and cut it out. This second felt piece should be almost rectangle and solid.
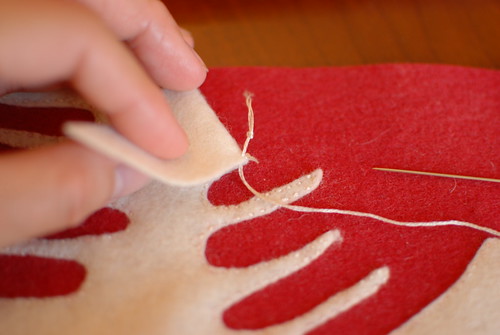
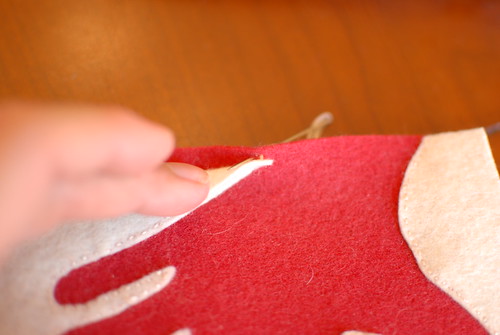
5. Overlay the layers of felt fabric and begin stitching. (The layer with the cut outs should top the rectangle solid layer.)
6. Use a running stitch and stitch around the felt cut outs.
8. Pre-fit the sleeve around the mason jar and make sure the edges come together. (If there is a small gap don't worry, the felt will stretch a bit and the edges will come together.) Whip stitch the edges together with embroidery floss so that they lay flush, without overlapping.
9. Now brew your favorite cup of coffee, or tea in my case, slip the sleeve around the mason jar and pour yourself a cup and enjoy.
Outtakes:
This is what happened during our first shoot...little fat adventurous baby hands happened...

 Hello, I am glad you came. Abbie Living is the place where I share my sewing, knitting, and crafting projects and most importantly, share my passion for helping others in need.


1 comments:
I have a bunch of mason jars just lying around so I might have to try this!
Post a Comment