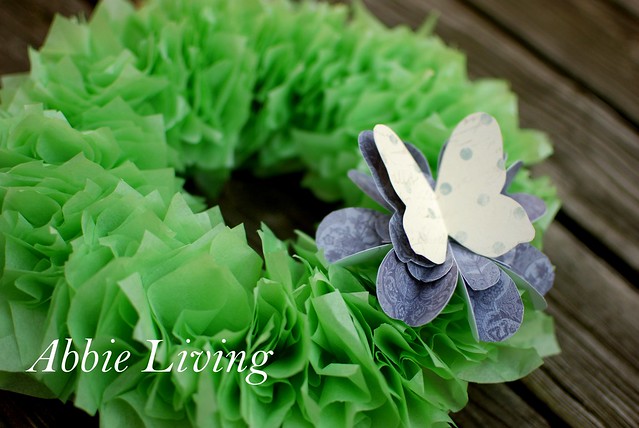
 I've never been a fan of money. I like the things you can get with money, sure...like crafting supplies, an education, or a good read. And I don't really mind earning money, though I feel supremely lucky that I don't need to command an income presently. But the way that green stuff just twists you up inside with worry sometimes doesn't feel like very nice at all.
"I want this, but I shouldn't buy it. I would really like this, but I don't need it. Is this worth it? Is this being wasteful? BUT I JUST WANT IT! I deserve it." Then the credit card or the cash comes out and in a flash that light of instant gratification is turned on. A feeling of warm euphoria wraps its arms around me and pushes up my lips into a smile. It teases my brain saying, "you did good." And then the shopper's-high is gone. And so is the money.
So that I don't have buyers remorse, or spenders-withdraw, I like to change it up with a thrifty endeavor sometimes. This craft is pretty inexpensive while being relatively impressive. Tissue paper is pretty cheap, though I'd recommend quality stuff for this project. The really thin stuff just rips too easily. And with a wreath form, a dab of glue, and a bit of ribbon you can make a very pretty spring tissue paper wreath. (A side note, if your wreath form comes shrink wrapped in plastic, don't even take that off. Just glue the tissue paper right to the outside of the plastic. That way when you get tired of this decoration, you can just take off the plastic and start over designing another wreath!)
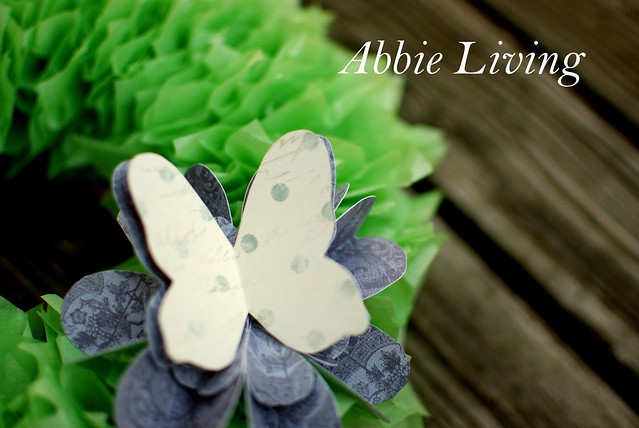 The butterfly and flower adornment are a recreation of my beloved blue hydrangea but you can use any accent you wish. Store bought or hand-made, either will work fine with this simple wreath. I attached a bit of wire to the back of the butterfly, threaded the flower through and then stuck the wire through the foam wreath form to keep it all in place. Like most of the projects I love, this job takes some patience and a little bit of time. But I believe time well spent, considering the nifty result.
Materials
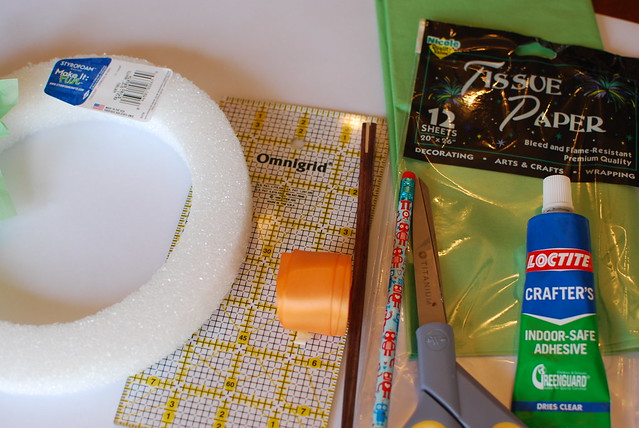
- Green tissue paper (how much depends upon how big your wreath form is. Mine was 8" and I needed approximately 1/2 a package)
- Scissors
- Ruler
- Pen
- Wreath form (this one is 8" in diameter)
- Craft glue
- Orange ribbon (how long depends upon how long you'd like the loop to be. I used about 24".)
- Chopstick (use one from the take-out bag! You are going to use the non-eating end.)
How To
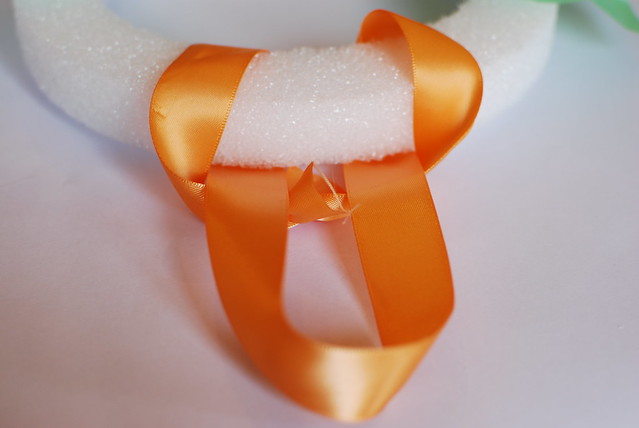 1. Knot the ends of the ribbon together. Make sure the ribbon isn't twisted. Fold the circle in half, (so you'd get two length of ribbon side-by-side) and loop it around the edge of the wreath form. Pass one loop end through the other loop end and affix it all with a dab of glue to the back of the wreath form.
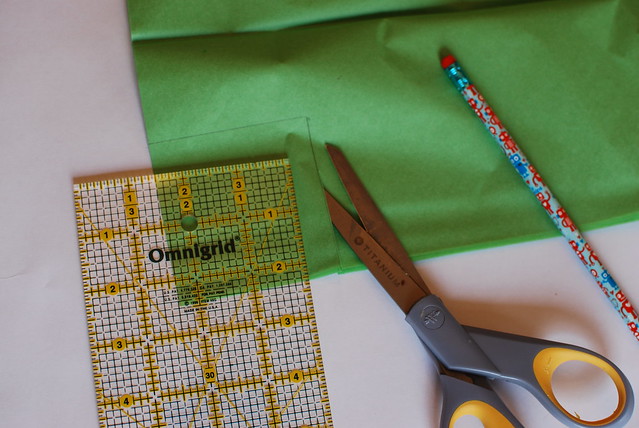
2. Measure with the ruler, and mark with the pen, 3"x3" squares of tissue paper. Cut them out with a scissors.
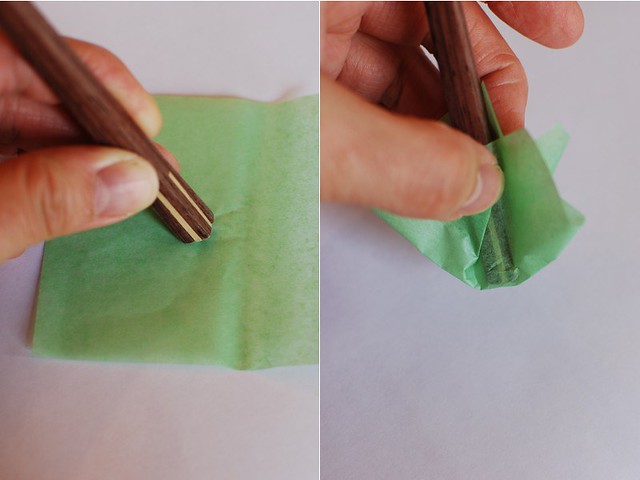 3. Take the chop stick and place the larger end at the center of the tissue paper square. Gather up the edges of the tissue paper around the chop stick, and set this aside, with the chop stick still inserted.
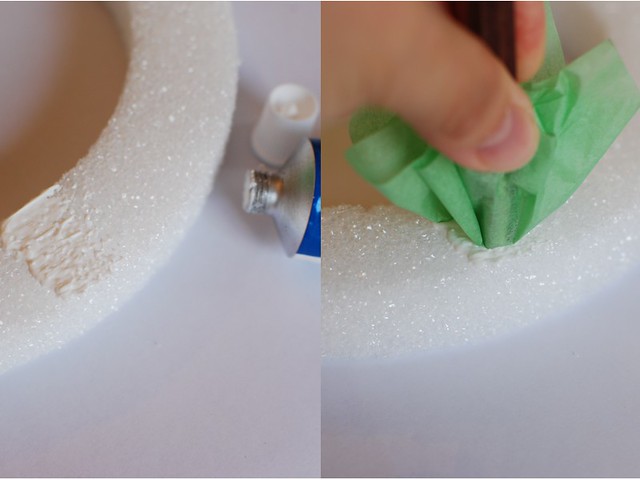 4. Spread a dab of craft glue onto the wreath form and use the flat end of the chopstick to press the tissue paper bunch onto the wreath form. Remove the chop stick and let the tissue paper stand up.
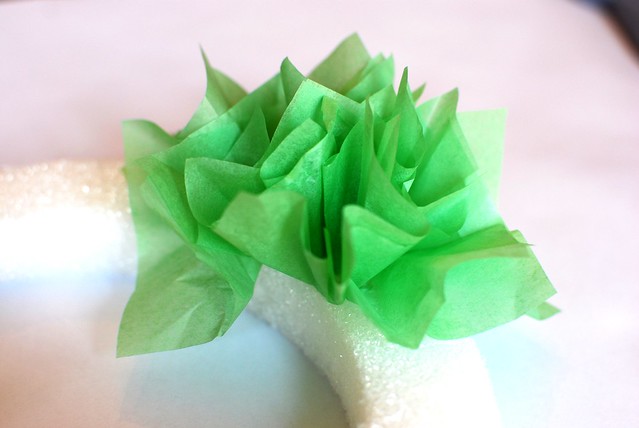 5. Continue folding tissue paper squares around the chopstick and then pressing them into the glue on the wreath form. Of course, spread more glue as necessary. Try not to glue a large area at one time, since the paper bunching takes time and you don't want the glue to dry too much. Bunch the paper together as little or as tightly as you'd like to get a less, or more dense effect.
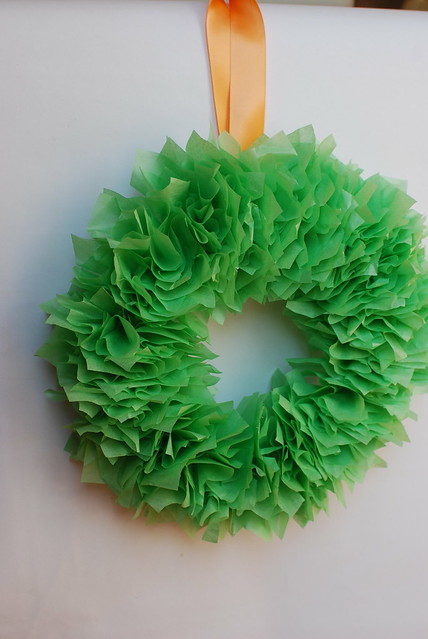
6. And then you get your basic tissue paper wreath. Adorn it with the accent of your choice and hang it up to admire your work.
* * *
Outtakes:
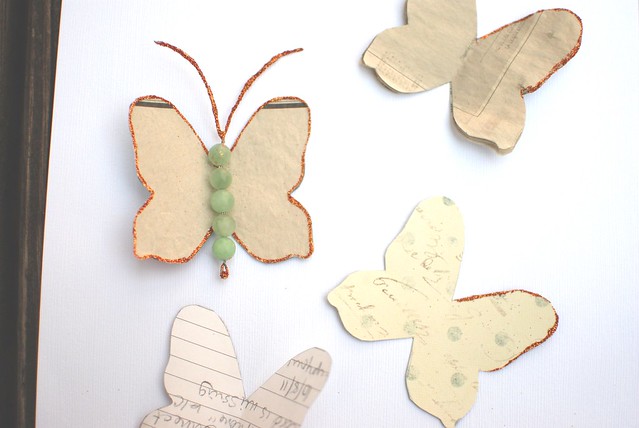 It took me longer to create the butterfly flower accent than it did for me to come up with and shoot the wreath tutorial idea. I dipped newspaper into old coffee to antique it. I did glitter tape and glue glitter. I did beads and wire...and I ended up doing a simple paper motif. Figures.
Inspiration:
Butterfly inspiration from Laeriss from the blog A Heart in Provence
And Sea Mat by Cornflower Blue Studio -- see, inspiration can transcend mediums!

 Hello, I am glad you came. Abbie Living is the place where I share my sewing, knitting, and crafting projects and most importantly, share my passion for helping others in need.


0 comments:
Post a Comment